An Artist’s Touch: Painting your own Mural
The tradition of painting pictures directly onto walls is as old as mankind itself. Some of our earliest evidence of human life is thanks to such personal artistic expressions left for us to discover and marvel at, a millennia later. As human’s developed, so did our artistic & architectural skills - with the likes of Raphael, Michelangelo, and Cezanne leaving their mark on history; along with modern contributions by the likes of Piccasso and Basquiat.
There is something fundamentally simpler, yet grander, about a mural versus a physical painting. One is movable, likely smaller, more intimate; the other other grand, larger, and incorporated into the fabric of a structure like a cathedral or palace. It is this “integration into the physical structure” that drew me personally to the idea of a mural - I needed an artistic contribution to this large wall of our primary bedroom that both felt like it was grand enough for the size, but also blended into the dimensions of the space.
WHY a mural?
Nowadays, most decorators (private & professional) would simply apply a wallpaper in this case, and call it a job well done - and in many cases, it is. However, I want to propose a few cases were a wallpaper or framed piece of art is not right for the needs, and when a mural might be your best option:
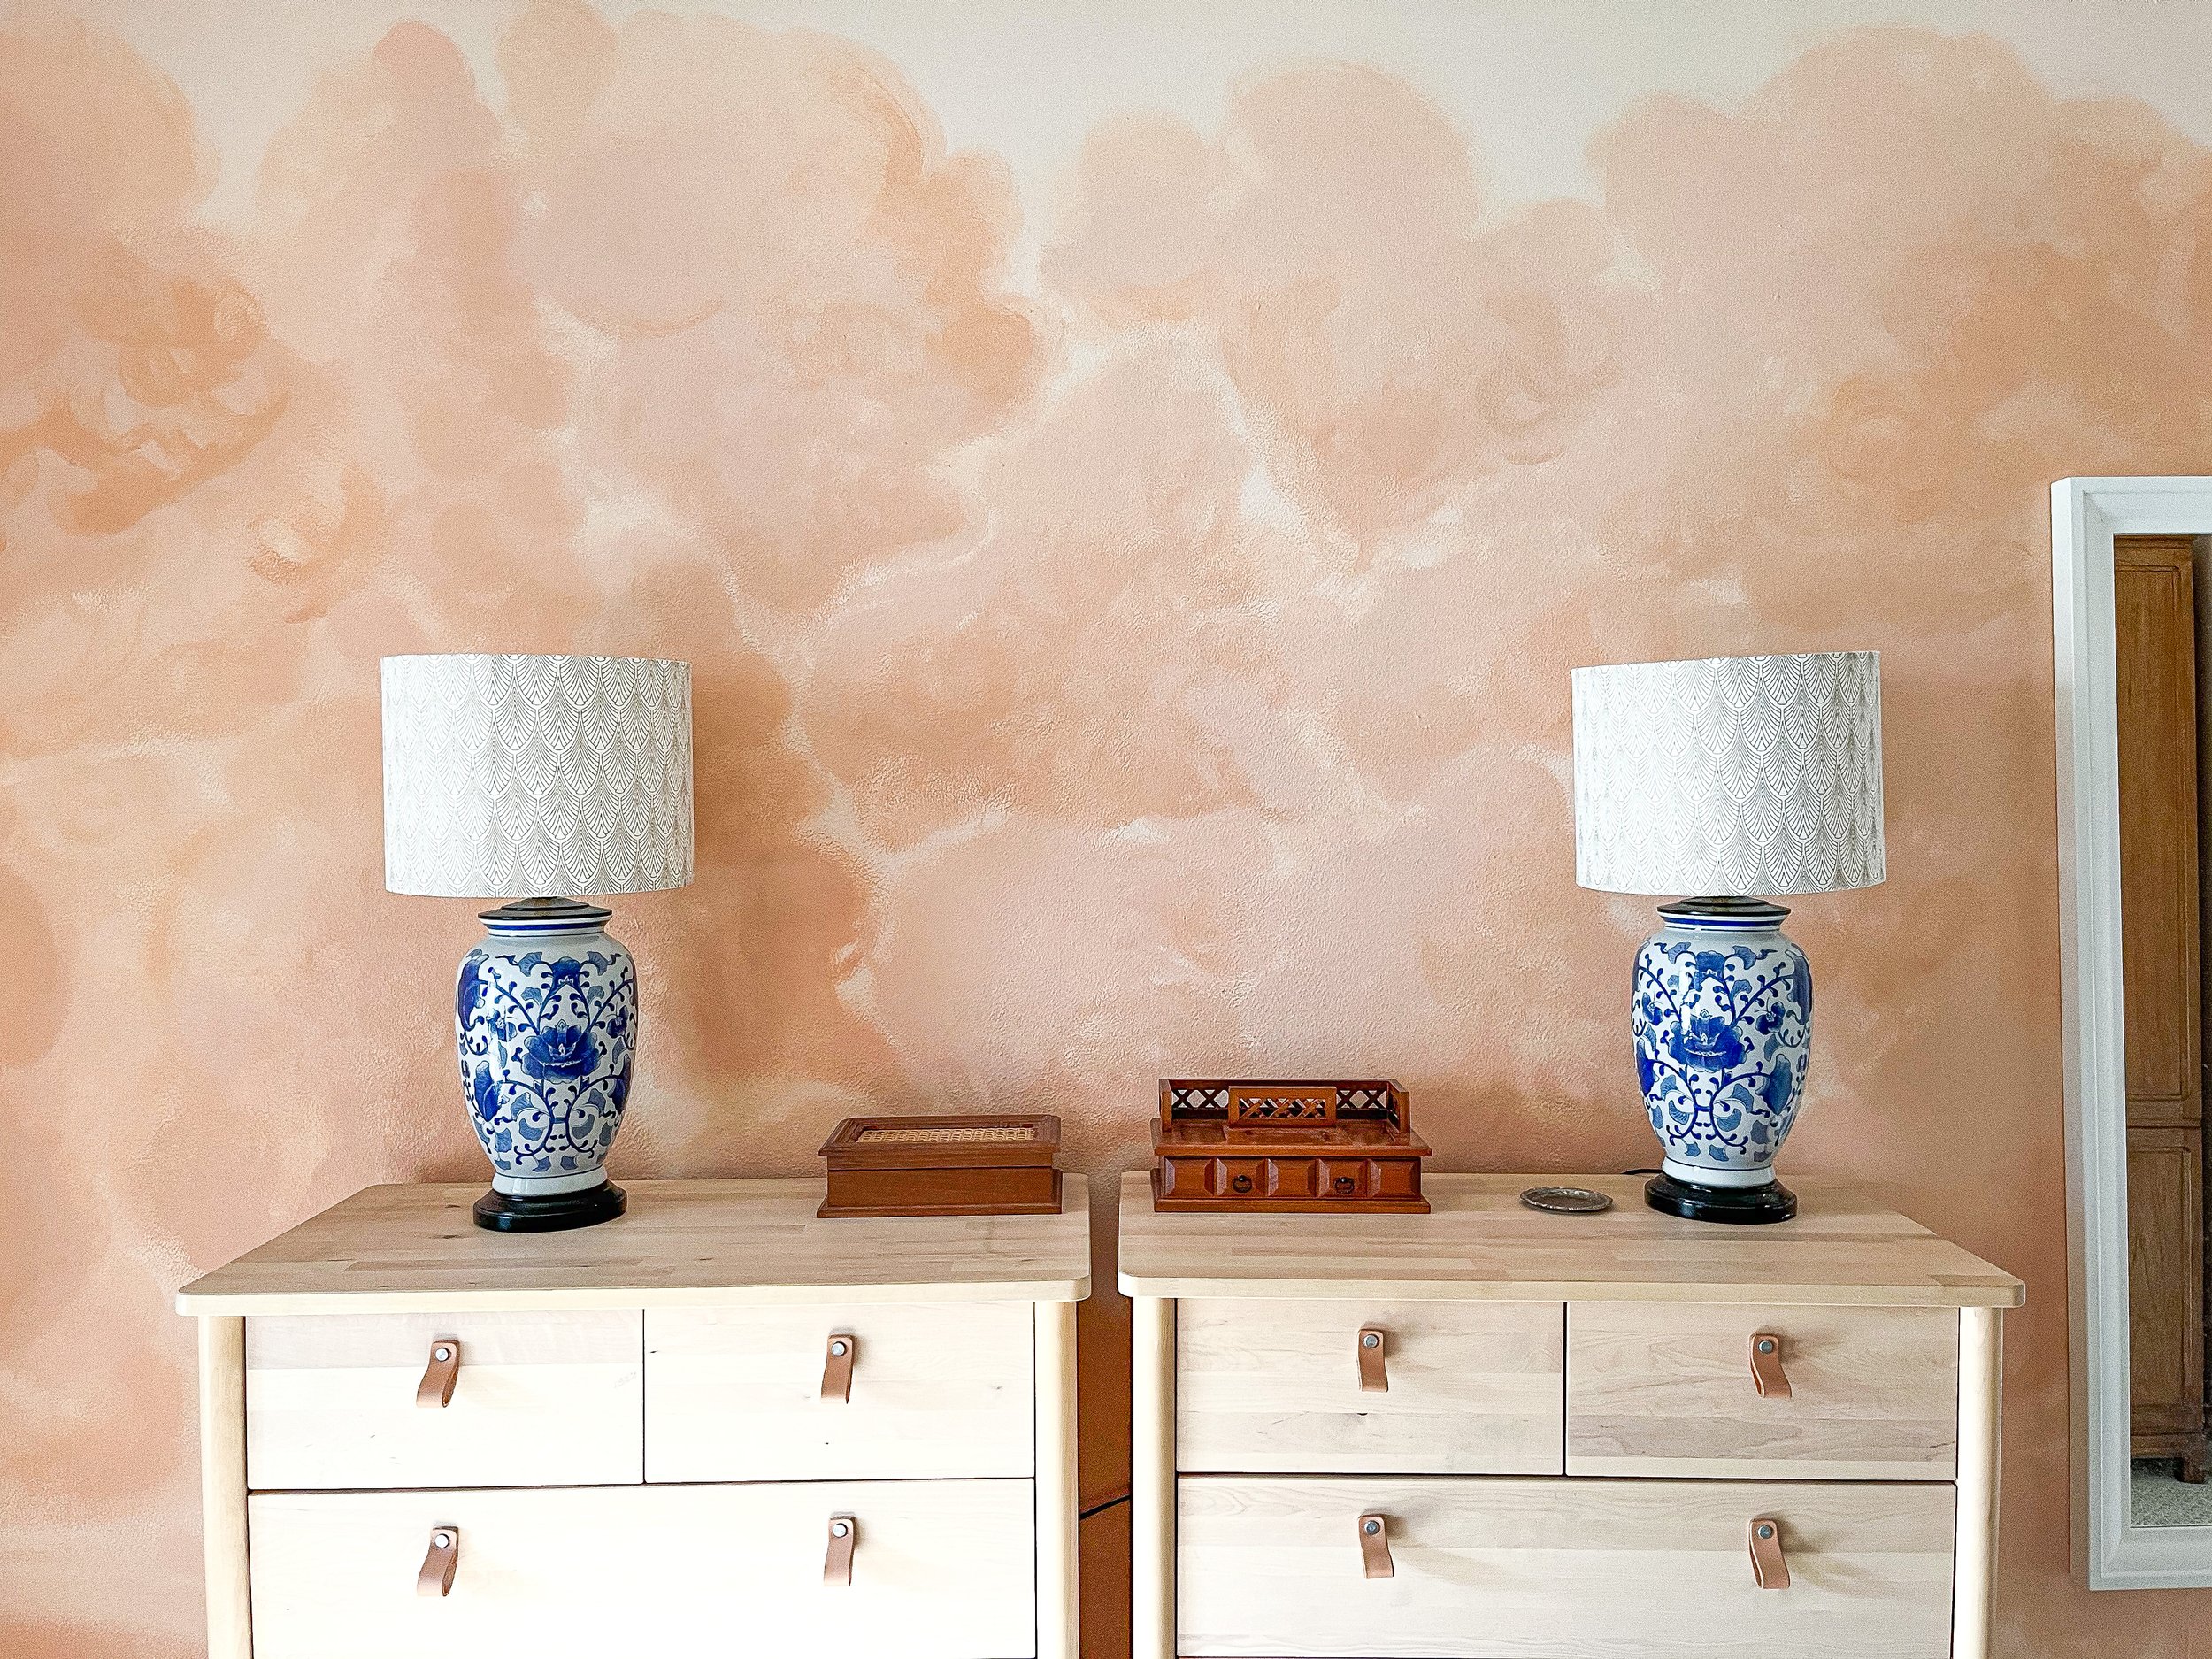
Wide angle shot for full effect. Lamps and jewelry boxes are vintage; shades, dressers, and mirror linked below
Mural vs Framed Art: Many people are fundamentally stumped by a large wall, and are paraliyzed by the decorating challenge it presents. My signature move in this case, is to hang a gallery wall - lots of mixed sizes of pictures (I love to blend prints, photos, and actual paintings or drawings for a “mixed media” effect that feels natural) that give the feeling of an art gallery space. HOWEVER, the downside with a gallery wall is the busy-ness of all the different shapes & sizes. This busy-ness can be very visually distracting, especially in darkly lite space.
The advantage of a mural in this case, is that you remove the “edges” you get with framed art on a wall. Instead of lots shapes in contrast, you have one artistic image that blends into the wall without a sharp stop. A way you could fake this a bit on a budget is to paint all your frames the color of the wall they hang on, and that would help the art blend in better.
Mural vs Wallpaper: Wallpapers (specially the stunning watercolors options available!) can be a easy solution to this large wall dilemma - but with a few caveats. First, Wallpaper is expensive!!! I was looking at spending about $300-$500 on wallpaper just to cover that one large wall of the room - and most wallpapers don’t look right as a statement wall alone, so then your cost increases as you extend throughout the rest of the space (and maybe thats more visually busy than you wanted anyway). Second, as was my case in our bedroom, is that it is very difficult to color match a wallpaper to an existing painted wall color. This is a lot trickier than you might think! Even “basic white” walls are never basic, and the undertones contrast or clash in an undesired way. If you are starting from scratch with a room design, I strongly suggest getting a sample of the wallpaper you want to use, and color matching with a paint sample before you get started, to insure the colors all play nicely together. In our case, I had carefully selected this dusty blush color for our walls and had no desire to clash with it - so I needed another option.
In the case of using a mural, the cost of materials was significantly cheaper! A few paint pots (tester pots were just enough for my size mural, all depends on the size & scope of your project), a few paint brushes I already owned, and a spray bottle to create the watercolor effect - grand total under $30. An added plus is worst case, if you move, or the room gets restyled - you can always paint over it in the future! A Mural also allows you the flexibility to get the exact color coordination you need in a space - I was able to blend mine in seamlessly using colors along the same scale as our wall color to create a “neutral tone” feel.
Finally, I would argue that a mural is infinitely more personal than the previous options considered. It’s an expression of you - your artistic ability, your personality, and a personal mark you leave on the fabric of your home. Even if you don’t feel like you’re an exceptional artist (I’m not either!), you can probably still paint something that is beautiful and personal.
Also just as a note encase you are wondering - I was nervous going in, but Richard was even more nervous! This was one of those cases where I have skills he doesn’t, and he just needed to trust me. But even though I can paint, I’d never done a mural before. However, we love the finished mural so much! It brings a level a polish to our room now that it just didn’t have before.
supplies needed:
PAINT: I used regular wall paint from BEHR, in Eggshell finish.
Depending on scope and variety of colors needed to complete your project, you might need larger portions, but in my case the small $6.50 test pots was the right amount.
This is a GREAT way to use up any leftover test pots from other projects too!
COLORS: I used - BEHR “Paper Heart” on the walls, then used BEHR “Sweet Pastel” & BEHR “Nairobi Dusk” for my mural.
Why different shades of color? You use different shades of color to create dimmesion in your painting.
TOOLS:
1 medium slanted wall brush & 1 large, fine tip art brush
You can also use a sponge, or a mitt/cloth to paint! I am just more comfortable with a brush.
Plastic plate for color blending
I ended up blending a 3rd color I used for light shadow, 1/3 Nairobi Dusk & 2/3 Sweet Pastel - so always good to give yourself options!
Cup or small bucket of water for wetting the brush
Spray bottle of water for wetting the wall as needed (for watercolor effect)
PAINTING SETUP:
Paper or tarp to cover the floor
Painters Tape to tape off anywhere you don’t want paint drips to fall - ex. baseboards.
Disposable gloves (if you are more comfortable not getting paint on your hands - helpful if you have to start & stop to care for a child!)
Babygate setup - if little visitors want to watch from a safe distance!
tequnique or method:
I suggest looking up example paintings of what you want, and take note of where shading, shadow, and highlights are. Also take note of scale - I deliberately chose to blow out mine more than my inspo paintings for a more ethreal feel, so just something to think about beforehand. I also strongly suggest sketching out a rough guide of your mural for yourself with a pencil before you start painting, this will help you keep track of where you are in your mural as you are painting, and help you stay the right size/scale as you go.
Otherwise, have fun with it! There aren’t a lot of rules here, just go with your gut and enjoy it. I had WAY more fun doing this than I thought I would! A good reminder of my old love of painting, and how I should probably take it up again, even if just for my own mental health & enjoyment. I may be planning my next mural project as we speak … more in the next few months on that!
Below are links to our room decor pictured (or similar pieces), as well as some of the insporation wallpaper & art I used available for purchase!


